Practical tutorial
How to check broken links in a website?
How to check broken links in a website? Start with a controlled crawl, review each failed URL, and separate real dead ends from temporary access problems. This tutorial gives you a repeatable broken link checker workflow for internal pages, external references, images, and documents.

Before you scan
Prerequisites
A reliable broken link checker review begins with a clear scope, a crawlable starting point, and a way to record decisions instead of merely collecting errors.
- What is a broken link checker? Understand how link checking identifies failed destinations and why status codes need context.
- broken link checker online free Use an online route when you need a quick check without installing a crawler.
- free broken link checker Compare a no-cost workflow for finding and prioritising broken URLs.
The workflow
Numbered steps
Work from the broad crawl to the specific fix. The same sequence works for a small brochure site and for a larger content library, provided you keep the scope consistent.
-
1
Define the crawl scope
Choose the canonical homepage or a representative section as the starting URL. Decide whether the check should include only internal links, external links, images, downloadable files, or every discoverable destination. Record the date, site version, and any areas intentionally excluded, such as staging paths or private account pages.
-
2
Run the link check
Start the crawl and let the broken link checker follow pages within the chosen scope. Review the source page, destination URL, response status, redirect chain, and anchor text for every flagged result. A request timeout or blocked bot is a lead for investigation, not proof that the destination is permanently dead.
-
3
Verify, fix, and retest
Open important failures manually, then choose the smallest accurate repair: update the URL, replace the resource, remove obsolete wording, or add a relevant redirect on your own site. Save the change and run the affected page through a second check so the report confirms the fix rather than assuming it worked.
Read the report
Common errors and fixes
A useful report distinguishes a genuine dead link from a request that was interrupted, redirected, denied, or interpreted differently by the destination server.
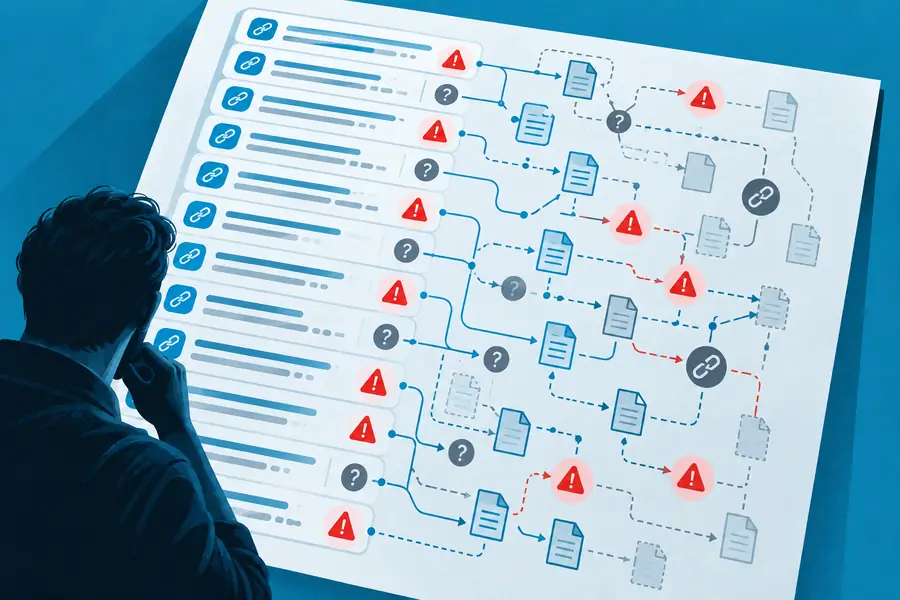

A failed request needs context before you edit the page.
Before verificationAfter verificationKnow the limits
Advanced tips
Once the basic crawl is stable, improve the quality of your results by adding context, prioritising visitors, and repeating the check at sensible intervals.
A status code is not the whole story
A 200 response can still lead to an empty, irrelevant, or access-denied experience, while a temporary 5xx response may recover on the next request.
What to do instead
Open high-value destinations manually and record the observed page title, content, and user outcome alongside the HTTP status.
A crawler may not see every URL
JavaScript navigation, form-driven links, robots rules, authentication walls, and lazy-loaded content can keep destinations outside a normal crawl.
What to do instead
Inspect important templates and navigation paths separately, and test authenticated or interactive areas with the appropriate access.
External sites can change without notice
You can repair your own reference, but you cannot control whether another domain moves, blocks requests, or removes its content later.
What to do instead
Prefer stable authoritative sources, avoid unnecessary deep links, and schedule recurring checks for pages that receive ongoing traffic.
A redirect may preserve or weaken intent
Replacing every redirect is unnecessary, but a long chain, a loop, or a redirect to unrelated content can still create a poor experience and dilute the original context.
What to do instead
Keep a direct destination where practical, confirm the final page matches the anchor text, and remove loops before they spread across templates.
Keep a record
Evidence to record
A broken link checker report becomes more useful when every finding carries enough information for another person to reproduce, prioritise, and confirm the fix.
- The page where the link appears
- 01 source
- The URL that was requested
- 02 destination
- The response or failure observed
- 03 status
- The repair, replacement, or review decision
- 04 action
Next check
Run a focused broken link checker review after major content releases, migrations, navigation changes, or domain updates. Start with pages that matter most to visitors, keep a record of confirmed exceptions, and retest repaired URLs before closing the task. A short recurring review is easier to trust than a large report that no one can validate.
Turn one crawl into a maintenance habit
- Start with your most visited pages
- Verify failures before removing links
- Retest after every important fix
Quick answers
Tutorial FAQ
These answers cover the practical decisions that usually come up when checking links on a live website.
Enter the site’s starting URL into a broken link checker or crawler, then let it discover pages and linked resources within the selected scope. Review each flagged URL in context, verify whether the problem is permanent, repair the source page or destination, and run a follow-up check.
Check the source page, the exact destination URL, the response status, and any redirect chain. Then open the destination in a normal browser session because temporary outages, bot restrictions, or authentication requirements can produce misleading failures.
No. First decide whether the reference is still useful and whether the error is temporary or access-specific. Replace it with a current authoritative source when one exists, or remove the link only when the surrounding content no longer needs that reference.
Run a check after redesigns, migrations, URL changes, bulk content edits, and changes to navigation or hosting. For an active site, a recurring monthly or quarterly review can catch external drift, while high-value landing pages deserve checks whenever they are updated.
Not always. Standard crawlers may miss links created after scripts run, content hidden behind forms, or pages that require authentication. Review critical interactive journeys separately and use a crawl configuration that has permission to access private areas when appropriate.